
This year the thought hadn't occurred to me at all that I might give knitted gifts. I've been eager to finish my own entrelac shawl in time to wear at Christmas, when my mom will be visiting with her finished clapotis shawl.
Earlier this week, though, enjoying some time off from work, I started catching up on knitting blogs and stumbled across this entry about a technique that combines knitting and weaving. The blogger had learned the technique from a book, in which I think the author suggests it may be used to create placemats. I thought perhaps I could try a smaller version, maybe a coaster (without the actual instructions, of course).

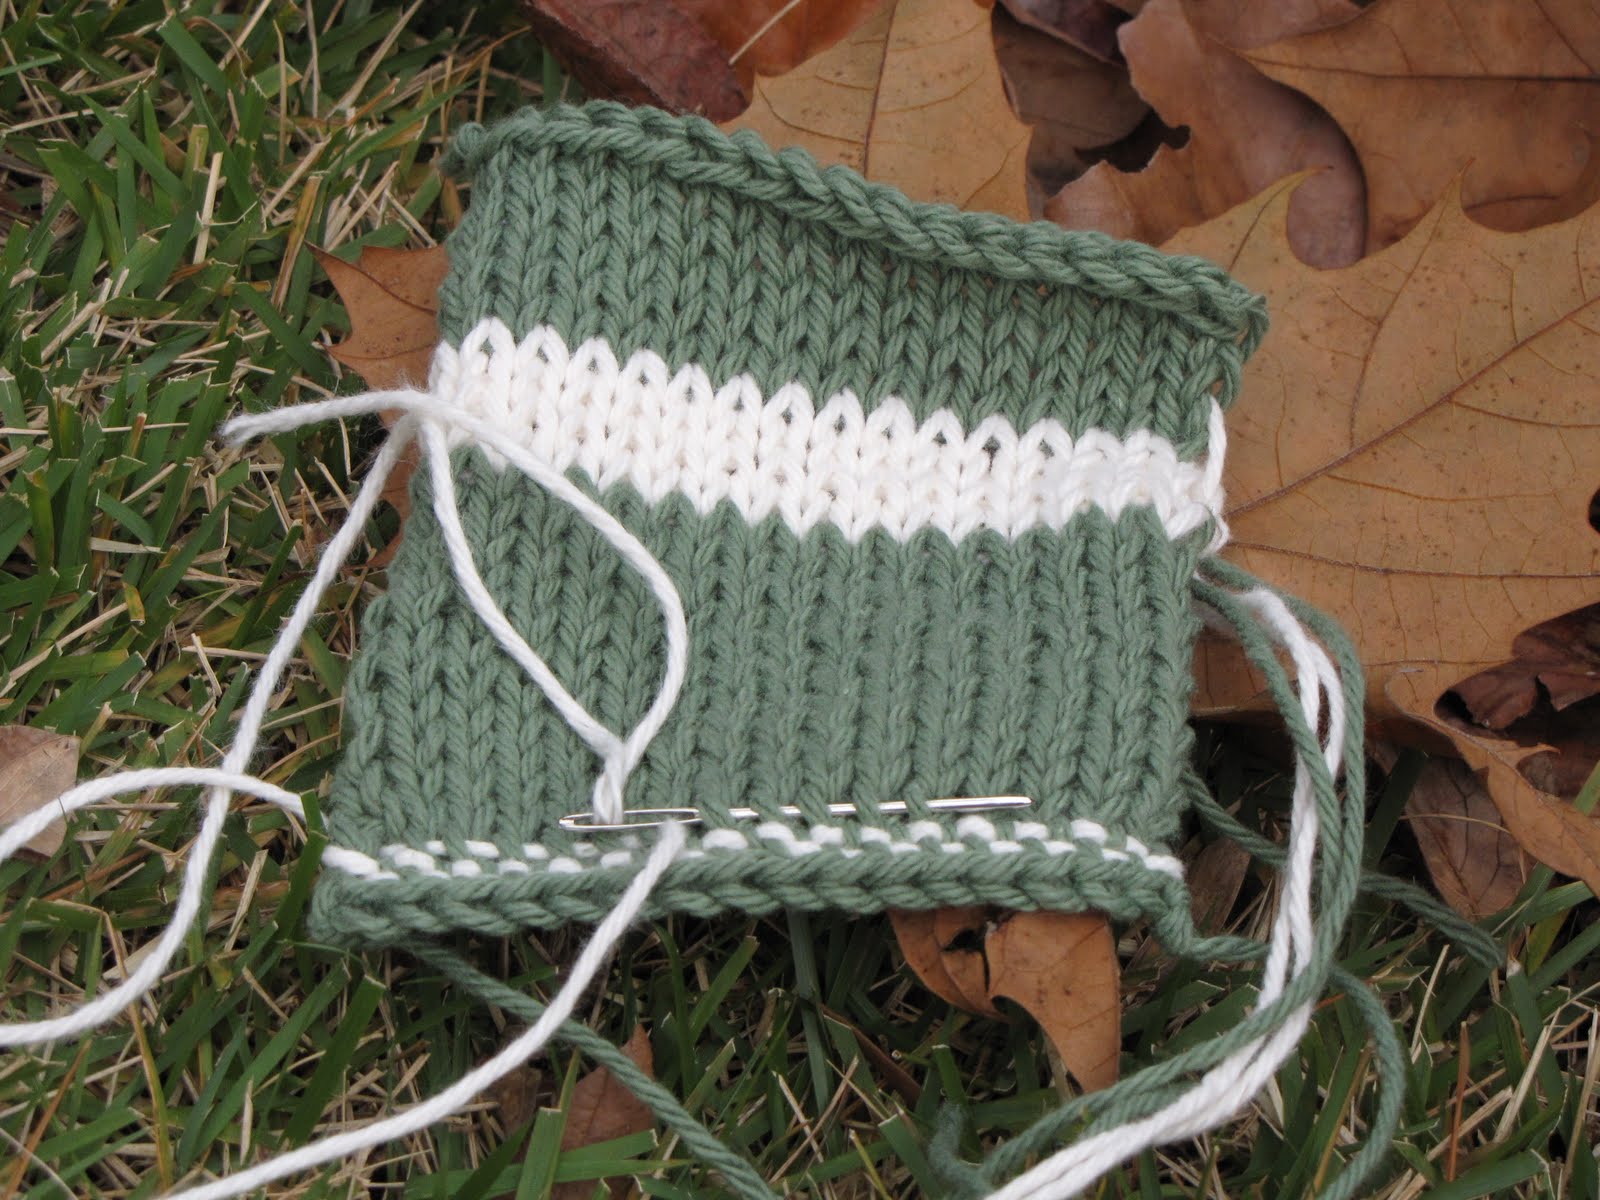
This was my first attempt. All you do is knit a stockinette swatch, and then use a tapestry needle to weave another color of yarn through the stitches. It's fun, and satisfies for now a faint urge to learn how to weave properly.
The edges looked pretty rough, though - all four of them. So I looked up suggestions for making the cast-on and bind-off edges identical. Several knitters suggested a provisional cast-on, which I'd heard of but never tried. I used the COWYAK version - "cast on waste yarn and knit". Like most knitting techniques, it looked like intense muddle-making at first but turned out to be ingenious. With a provisional cast-on, you use waste yarn for the cast-on then switch to your main color. Later, you carefully remove the waste yarn and are left with live stitches, which I promptly bound-off to look exactly the same as the opposite bound-off edge.

This was my second attempt. For my third attempt I learned that I could make the side edges neater, as well, by slipping the first and last stitches as if to knit on every knit row, and purling straight across every purl row. I've read about these kinds of techniques before, but always felt like the edges they produced were too loose. This one worked just fine!

All three coasters, unfortunately, are a little too asymmetrical for my taste - I know that has everything to do with tension, and could probably be worked out with a few more attempts. Or purchasing the book. No mass production this year, but if I'm lucky, perhaps I'll look for a carefully stashed collection of finished objects next November, and find a happy little stack of colorful coasters to give!

1 comment:
I look forward to my Christmas gift in 2010!! Another thought for smoother edges is the applied I-cord: cast on 4 extra stitches, 2 on each side. Always knit the first 2 stitches, then move the yarn forward before the last 2 stitches and slip them off the left needle on to the right needle. When you turn, knit those first 2 stitches, bringing the yarn behind and around them. I used this technique for all my ballband dishclothes. It takes a little thought, but you can do this using more than 1 color also. Happy Knitting!!
Peace-
Post a Comment